SoftRadio User Settings
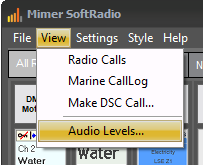
There are some settings that can be performed by the user and also some extra menues that can be brought forward. The menues that are available will vary depending on the options that are installed.
Feel free to explore the posibilities.
More reading about all the settings can be found in the user manual and the manuals for each option. The manuals can all be found on the technical download page.

The Settings menu
Do you prefer one or two speaker buttons, do you want to have a volume control for each radio? Or would you like a vertical layout? It can all be changed, very easily.
Settings is accessed from the top list in the Mimer SoftRadio GUI. Settings can also be blocked in Connection SetUp so that only the “Admin” will be able to make changes.
The menus and tabs under settings will look different depending on the installed options.
You will find more information in both the Basic System Setup description and the Configuration and User Guide on the technical download page.
The first information, User ID and User name, are read only. They are set up in Mimer Connections Setup.
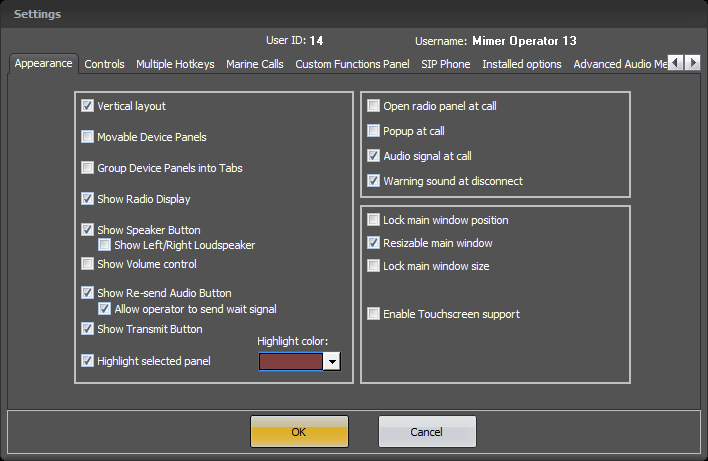
Settings: Appearence
- The left part sets which buttons to be shown in Mimer SoftRadio. And also if vertical or horizontal layout should be used.
In SoftRadio XL you can also choose if the device panels should be movable and if Tabs shall be active.
- “Allow operator to send wait signal” allows for a right click on the yellow key, on each device panel, with a selection if the key shall function as “Resend” or “Wait message send”.
At the bottom of this page is a description of how to change the Wait message. - “Highlight selected panel” gives an extra frame around the device panel that is selected for transmission. Works in parallel with the small red arrow.
- The right top corner controls what will happen when a radio receives a selective/private call.
- You can also select to have a warning sound when a device disconnects from the SoftRadio system.
- In the right low corner you set if the window should be fixed or if the operator should have the right to resize and/or lock it to a certain position on the screen.
- When using movable device panels you can set the size of the panels here.
- You can also enable support for touch screens. This gives a virtual keyboard on the screen when you need to input a text or number, for example when writing an SDS.
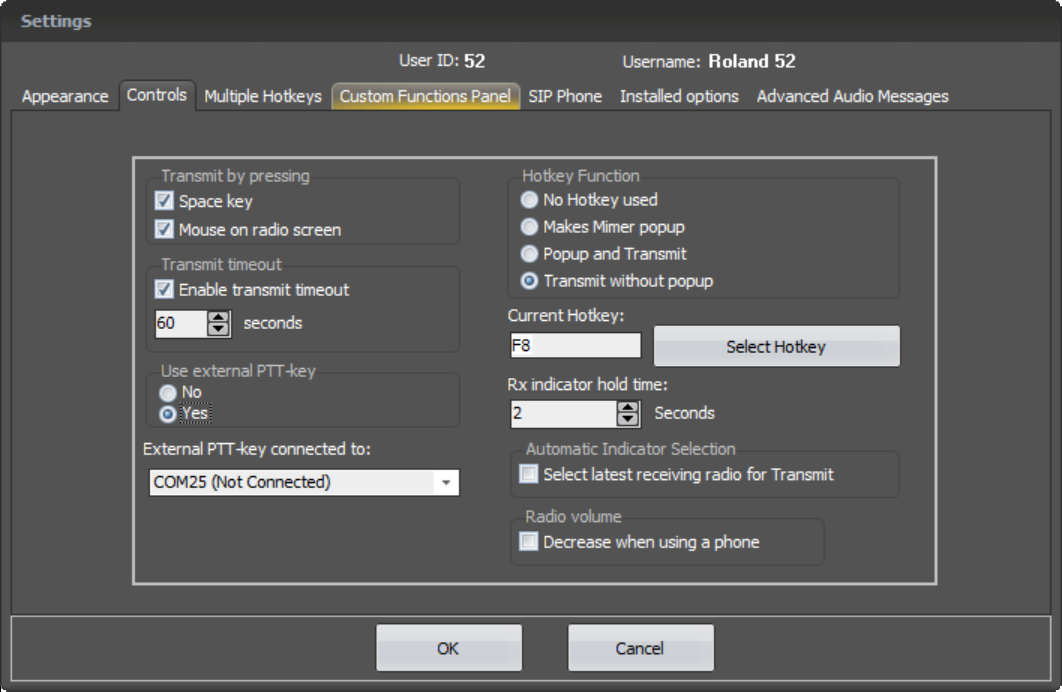
Settings: Controls
- At the left you set in which way a PTT can be keyed.
You can select if PTT shall be allowed through the keyboard spacebar and through clicking on the Virtual Control Heads display. - Then you have the Transmit Timeout. This regulates for how long a transmission is alowed.
- If an external PTT key shall be used through the COM-port, you need to set the port number here.
- The top right corner sets if a hotkey should be used on the keyboard and how it shall function. You may also specify your own Hotkey or combination of keys.
This is often used as the PTT key on operator accessories. - The bottom right corner sets the hold time for the yellow squelch indicator. Practical is to keep it at 1-2 seconds. This means that it will stay lit a while after the last transmission was received to give the operator a better chance to respond on the right radio in systems with several radios.
- Automatic Indicator Selection, ticking this box will automatically move the “Active Arrow” to the device that last had reception. Gives a faster response from an external PTT key. (But might also be misguiding if several receivers are active at the same time)
- You also have a selection if the volume on incoming radio calls shall be decreased when being in a phone call.
Settings: SIP Phone (option)
Here you set up the information needed to connect to your SIP exchange as provided by the SIP PABX provider. Read more about phone connection here.
Further described in a separate manual available on the technical download page.
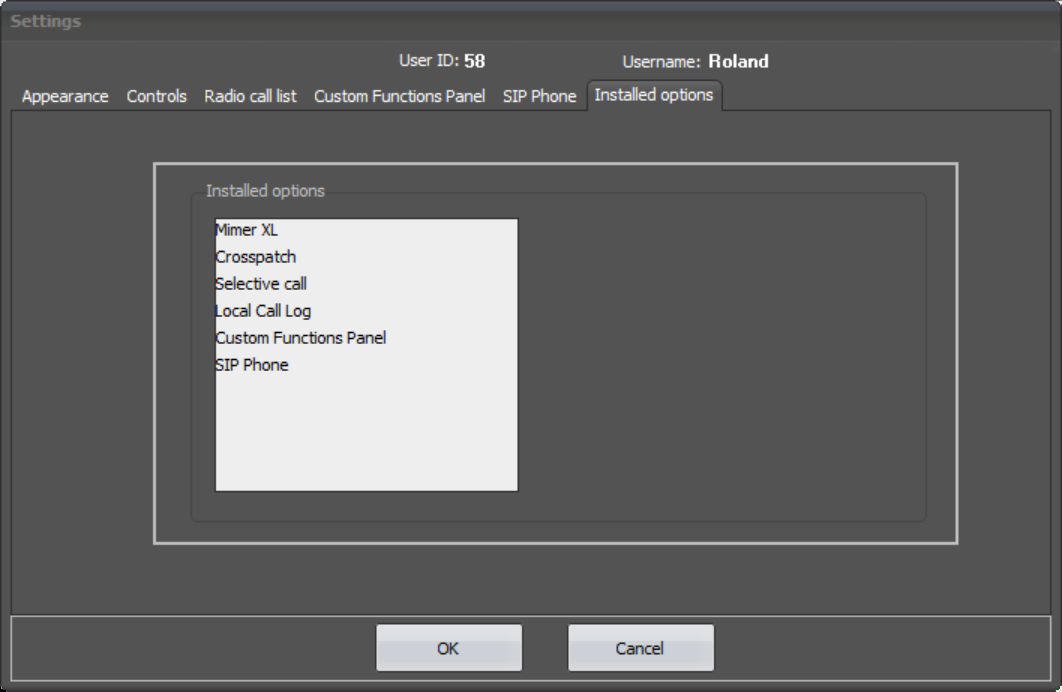
Settings: Installed Options
This tab will show the options (if any) that are installed in your SoftRadio system.
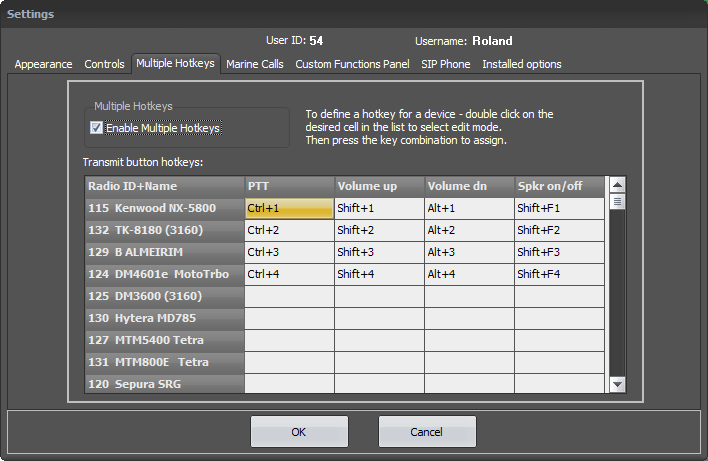
Settings: Multiple Hotkeys (option)
With the option Multiple Hotkeys activated you can assign a separate keyboard key as PTT, volume and/or speaker control, for each device in your SoftRadio system. Further described on the SoftRadio XL page.
Very useful from a separate keyboard with programmable keys.
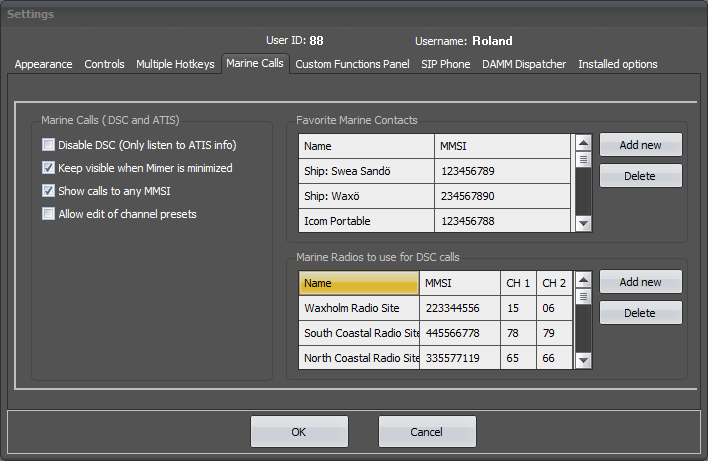
Settings: Marine Calls (option)
Marine Calls is the option that handles DSC and ATIS calls in marine systems.
To be able to use the option you need to make some settings. MMSI-numbers, preset channels etc. Here you also set up which radio(s) that shall be used for sending DSC calls. Read more about Marine Calls here.
Further described in a separate manual available on the technical download page.
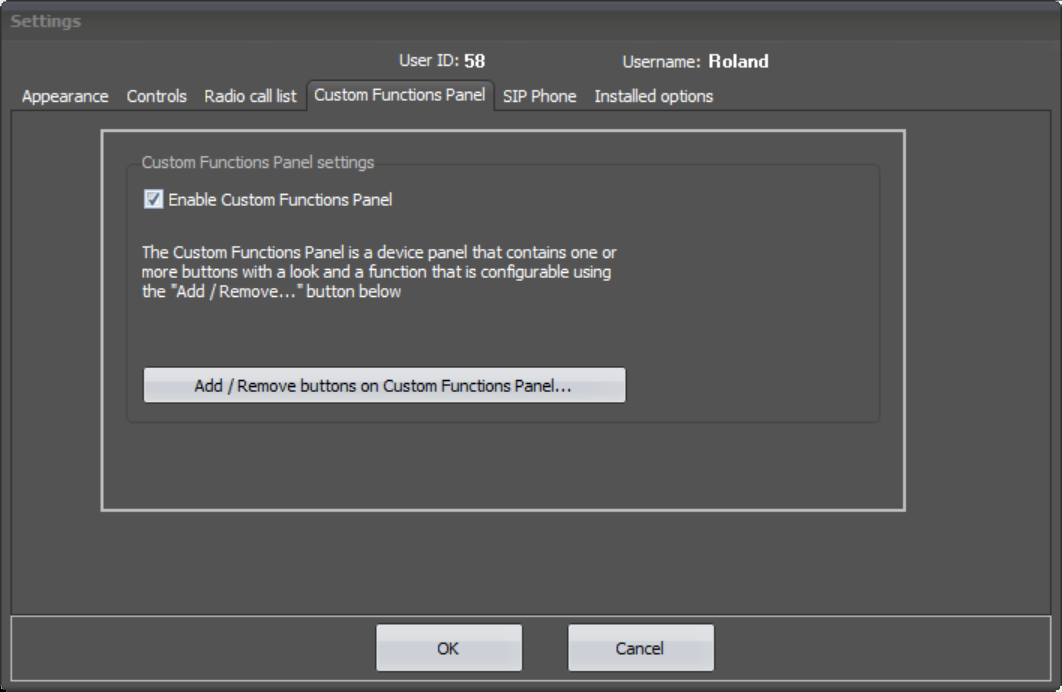
Settings: Custom Functions Panel (option)
This tab is used for activating/deactivating the Custom Functions Panel and to enter the full setup menu. Read more about the Custom Functions Panel here.
Further described in a separate manual available on the technical download page.
The "Select Devices" menu
This selection is activated through a Tick box in Mimer Connections Setup.
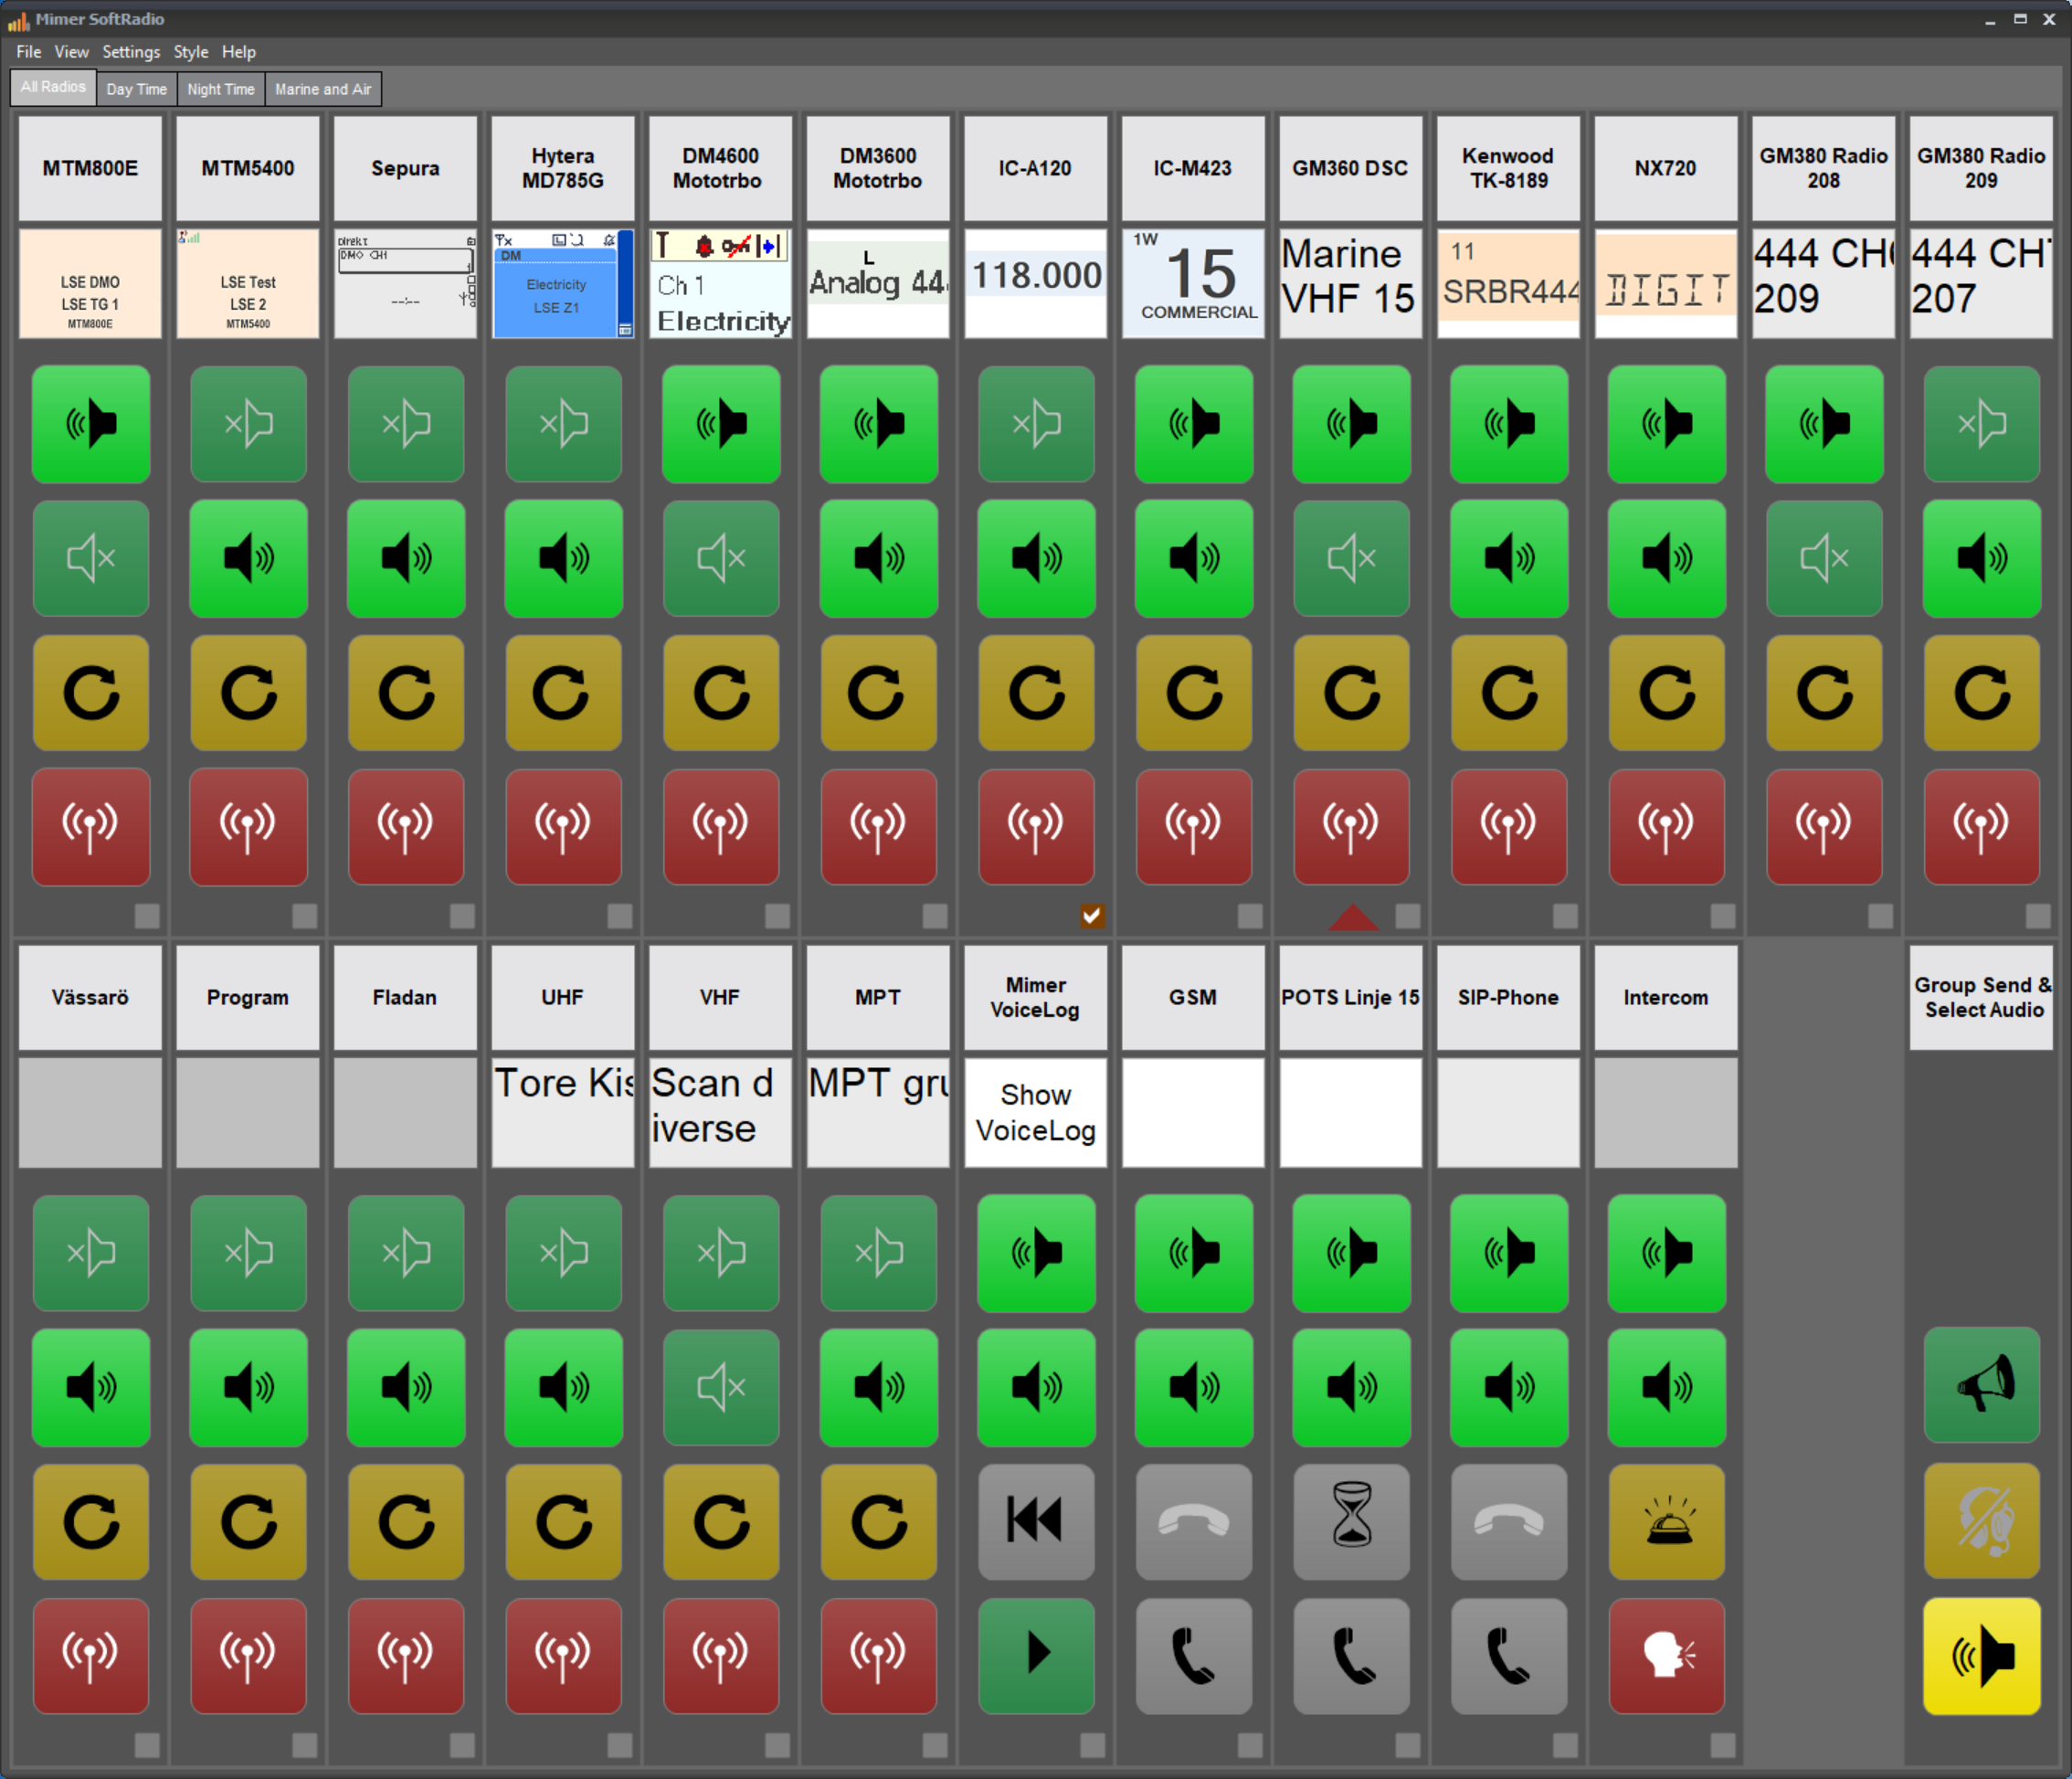
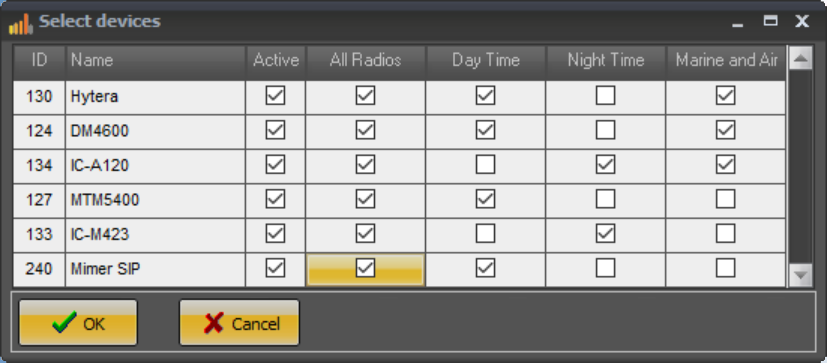
Since connections Setup can hold more devices than the operator might want to see on his screen at the same time, there is a simple tick box tool where the operator can select the devices he would like to use.
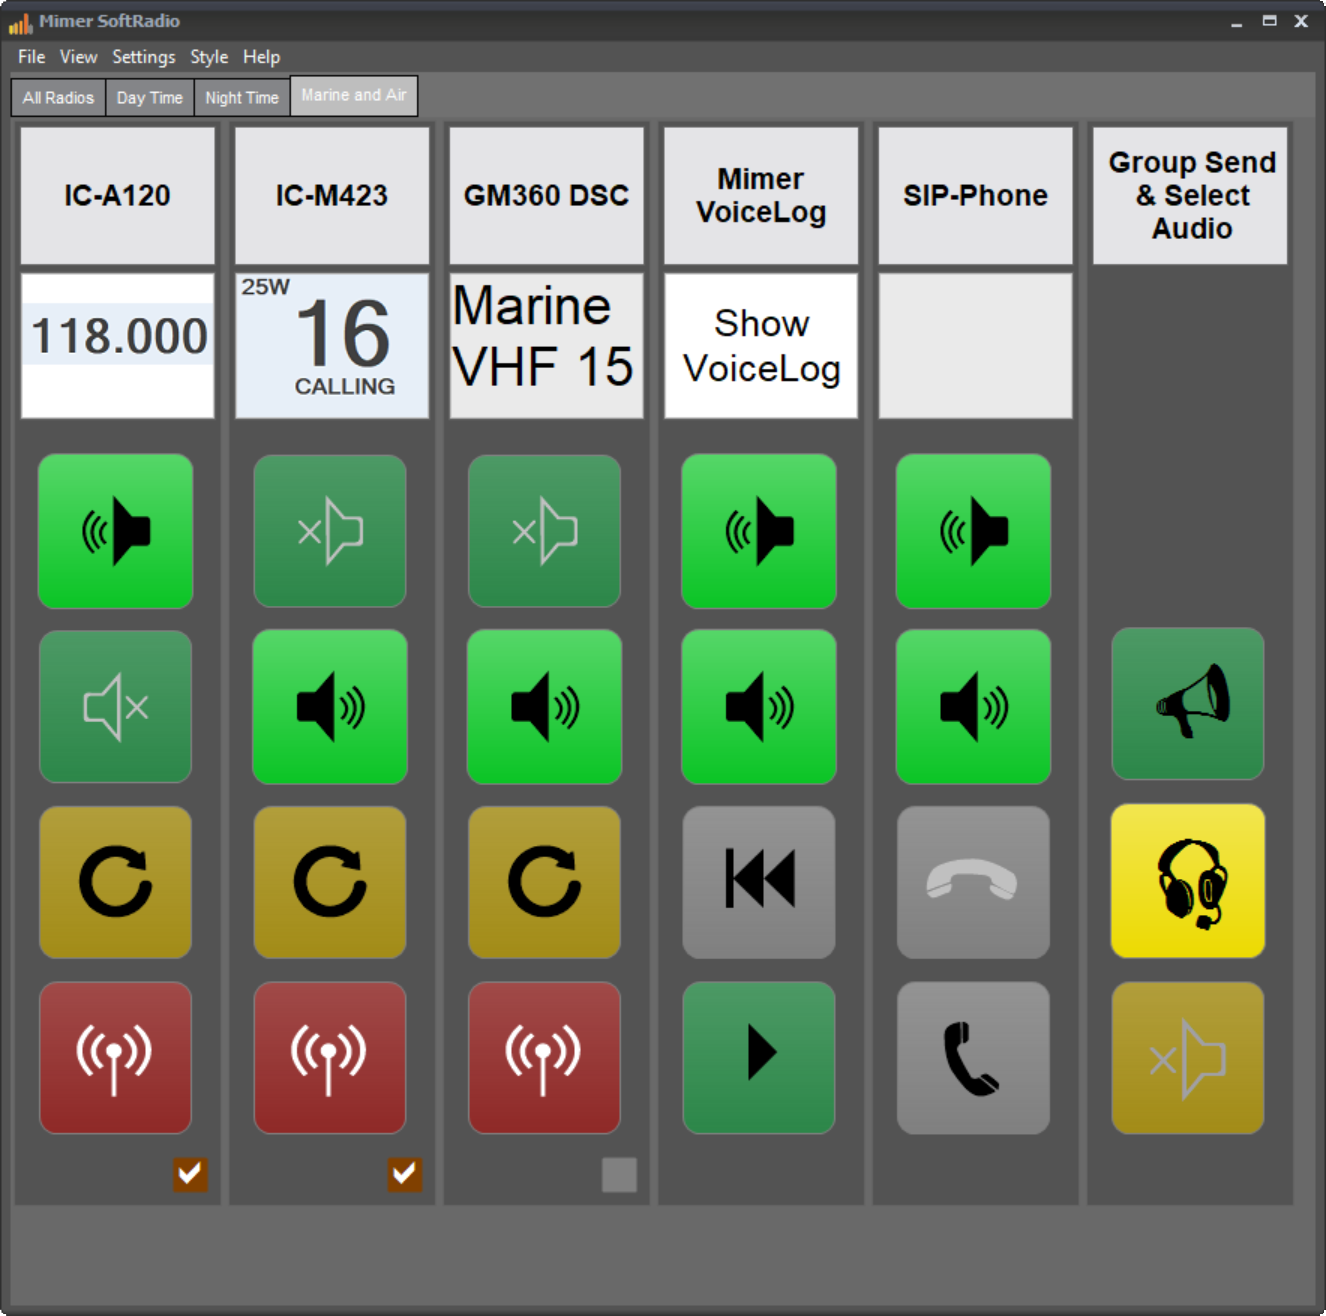
This can be combined with the function “Tabs” that is available in XL versions of SoftRadio. As in the example below, the operator can select what devices to have on each tab. Opening up for preprogrammed daytime/nighttime settings or personal settings for each operator sharing the same PC.
Select Devices menu with tabs activated
Alternative:
When setting up more devices in Connection Setup than you actually use at any given time, as described above, all devices are connected althogh they are not shown on the operators screen. This might in some cases cause unnecessary load on the IP network and/or on servers.
There is another option called “Profiles” that handles this. Read more on the SoftRadio XL Page.
Changing of the "Wait message"
The default Wait message is a “Bing-bang-bong” type message. It can be changed out to any audio file with voice or tones.
Any wav audio file recorded in mono with 16 bits and 8kHz sample rate (128kbit/s) can be used.
A new Wait message file, shall be placed in the same folder as the default file: C:\Users\Public\Documents\Mimer\
StandardAudioMessages\
The new file shall have the same name as the old. It is called: DefaultWaitSignal.wav

